Do It Yourself Raised Garden Beds!
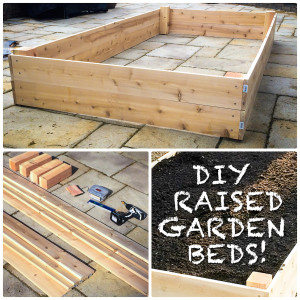 We love gardening with our kids – it’s a great family activity! Yet for many people, gardening seems like an impossibility, often because they lack yard space, or their soil is contaminated. Once solution is to install a raised garden bed. Raised garden beds have many benefits – they can allow you to garden in a small space; the soil isn’t compacted, so roots can grow more easily; raised gardens often have a higher yield than conventional gardens; and because the roots are not in the ground, the growing season is longer for plants in a raised bed.
Unfortunately, it will set you back anywhere from $100-$400 for a 4ft. x 8ft. x 10.5in. bed depending on the style and type of wood. Rather than buy a garden bed, you can make your own! Here’s how:
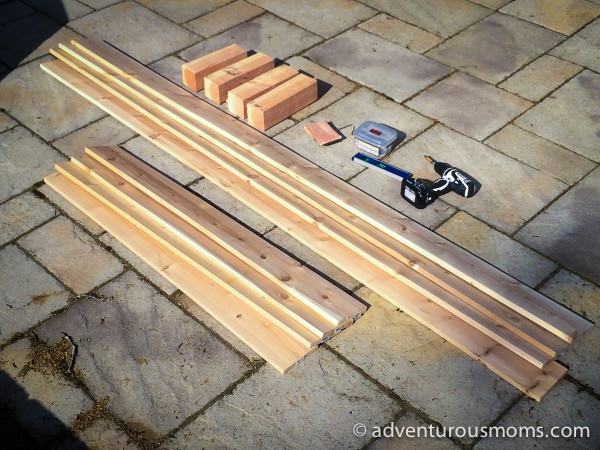
What You Need
- lumber
- 1 box of 2-1/4in. stainless steel exterior screws
- drill
- level
- sandpaper
Make sure when you select your lumber you do not get pressure treated wood. Though it will withstand the outdoor elements, pressure treated wood is filled with chemicals that will seep into your vegetables! I used cedar because it is naturally rot and insect resistant, but you can use almost anything you would like.
The amount of lumber you need will depend on the size and number of garden beds you want to build. Mine are 8ft. long by 4ft. wide by 12in. high, so I purchased twelve 1 in. x 6in. x 8ft. cedar boards for the frames, and one 4 in. x 4 in. x 8 ft. fir board for the support posts.
I don’t have a saw at home, so I had the folks at the store make the cuts for me – four of the 1 in. x 6in. x 8ft. cut in half, and the 4 in. x 4 in. x 8 ft. board cut into 8 equal pieces of roughly 11.5 inches.
Step 1
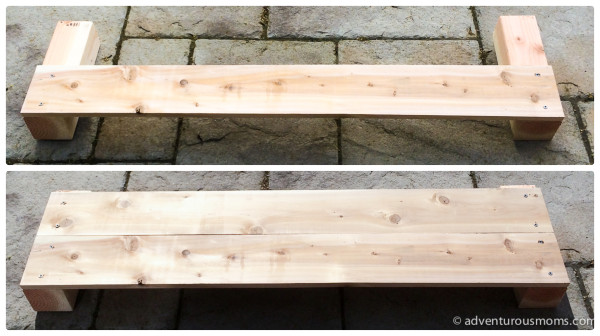
Place two of the “posts” flat on the ground, and line up one of the 1 in. x 6in. x 4ft. flush with the bottom edges. Drill two screws into each side of the board, into the posts. Make sure not to get too close to the edges of the board, or it will split.
Once you’ve screwed the first board in place, take a second 1 in. x 6in. x 4ft. board and place it above the first one. Again, screw it into the posts using two screws on each side.
Repeat this process to make the other side of the garden bed. When you are done, lightly sand any rough spots.
Step 2
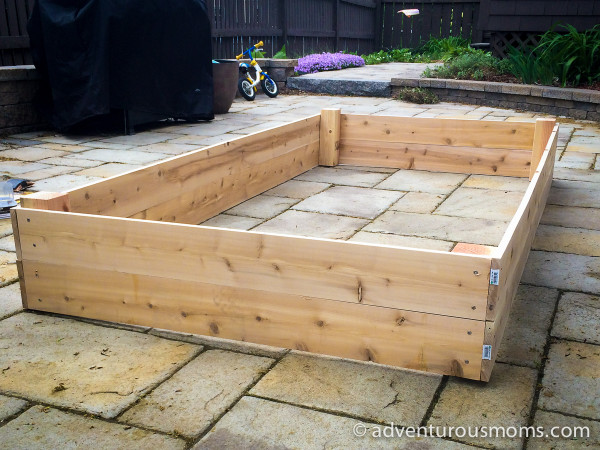
Stand the side panels upright, and place eight feet apart. Take one of the 1 in. x 6in. x 8ft. boards, line it up with the edge of one of the side panels, and drill one screw through the board into the support post. Next, line the board up with the other side panel, and repeat the process. Once the board is in place, with one screw on each side, you can add a second screw to give extra support.
Next, line up a second 1 in. x 6in. x 8ft. board on top of the first, and repeat the process. Then, attach two boards on the opposite side to complete the raised bed! When you are done, lightly sand any rough spots.
 Step 3
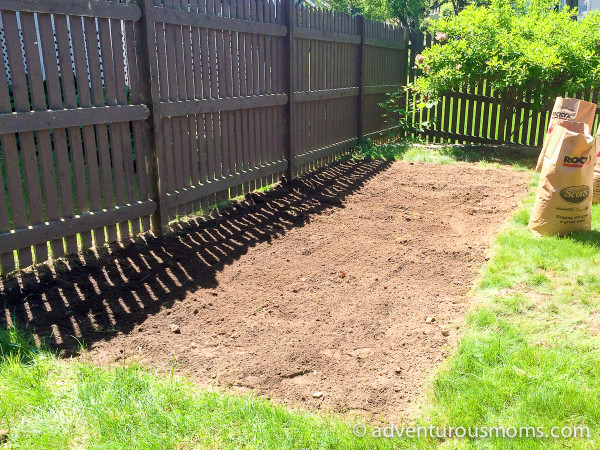
Prepare the ground on which you want to place the raised bed – if it is already level, then skip to step four! We had grass in the area we wanted to place our beds, so we first removed the grass and leveled the ground, as it is on a slight slope. If you don’t feel like taking the time to pull up grass, you can also place newspapers or cardboard on the ground to keep it from growing up through your garden bed.
Step 4
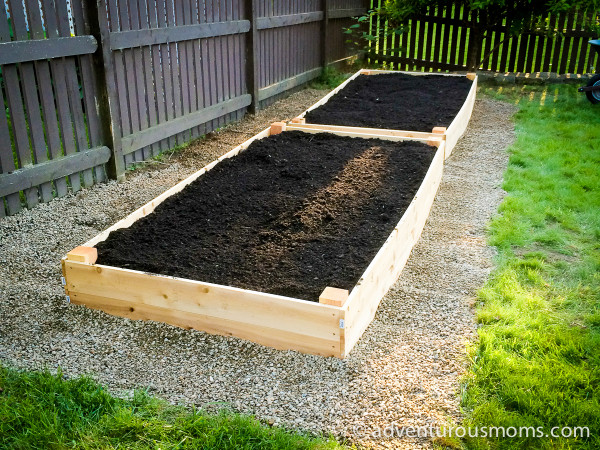
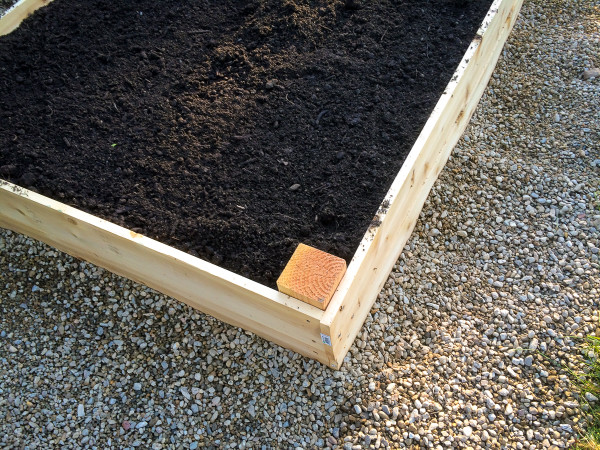
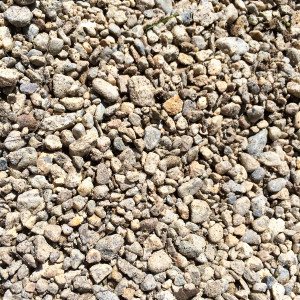 Place your garden beds where you want them to sit, and cover the ground in and around them with 3/8in. pea stone. This will help with drainage and make your garden area look pretty! It also will help you level out any spots that aren’t quite flat. Before moving on t the next step, use a level on each side of the garden bed to make sure that it is even.
Step 5
Next fill your garden beds! We used a 50/50 loam/compost mix which we ordered from a local farm. Make sure you fill the beds almost to the top, leaving about an inch of space. Now you are ready to plant seeds or transplant seedlings!
 Final Notes
Building the beds only took me an hour to complete, and the total cost for two 4ft. x 8ft. x 12in. raised beds was less than $150. They held up beautifully all summer, and we are excited to use them again this year!




What an amazing idea!!!
Nice tutorial, Jen! Thank you for sharing this idea!